10-26-08 Ground Covering
After many delays, I was able to add ground cover on the mountain ridge and the surrounding area.
Based on past experience, I knew applying ground cover to the severely sloped ridge would be a problem. I rigged a table out of an old wire shelf and piece of plywood that I could tilt. I placed the mountain ridge on this and adjusted it until the surface I wanted to work on was close to horizontal.
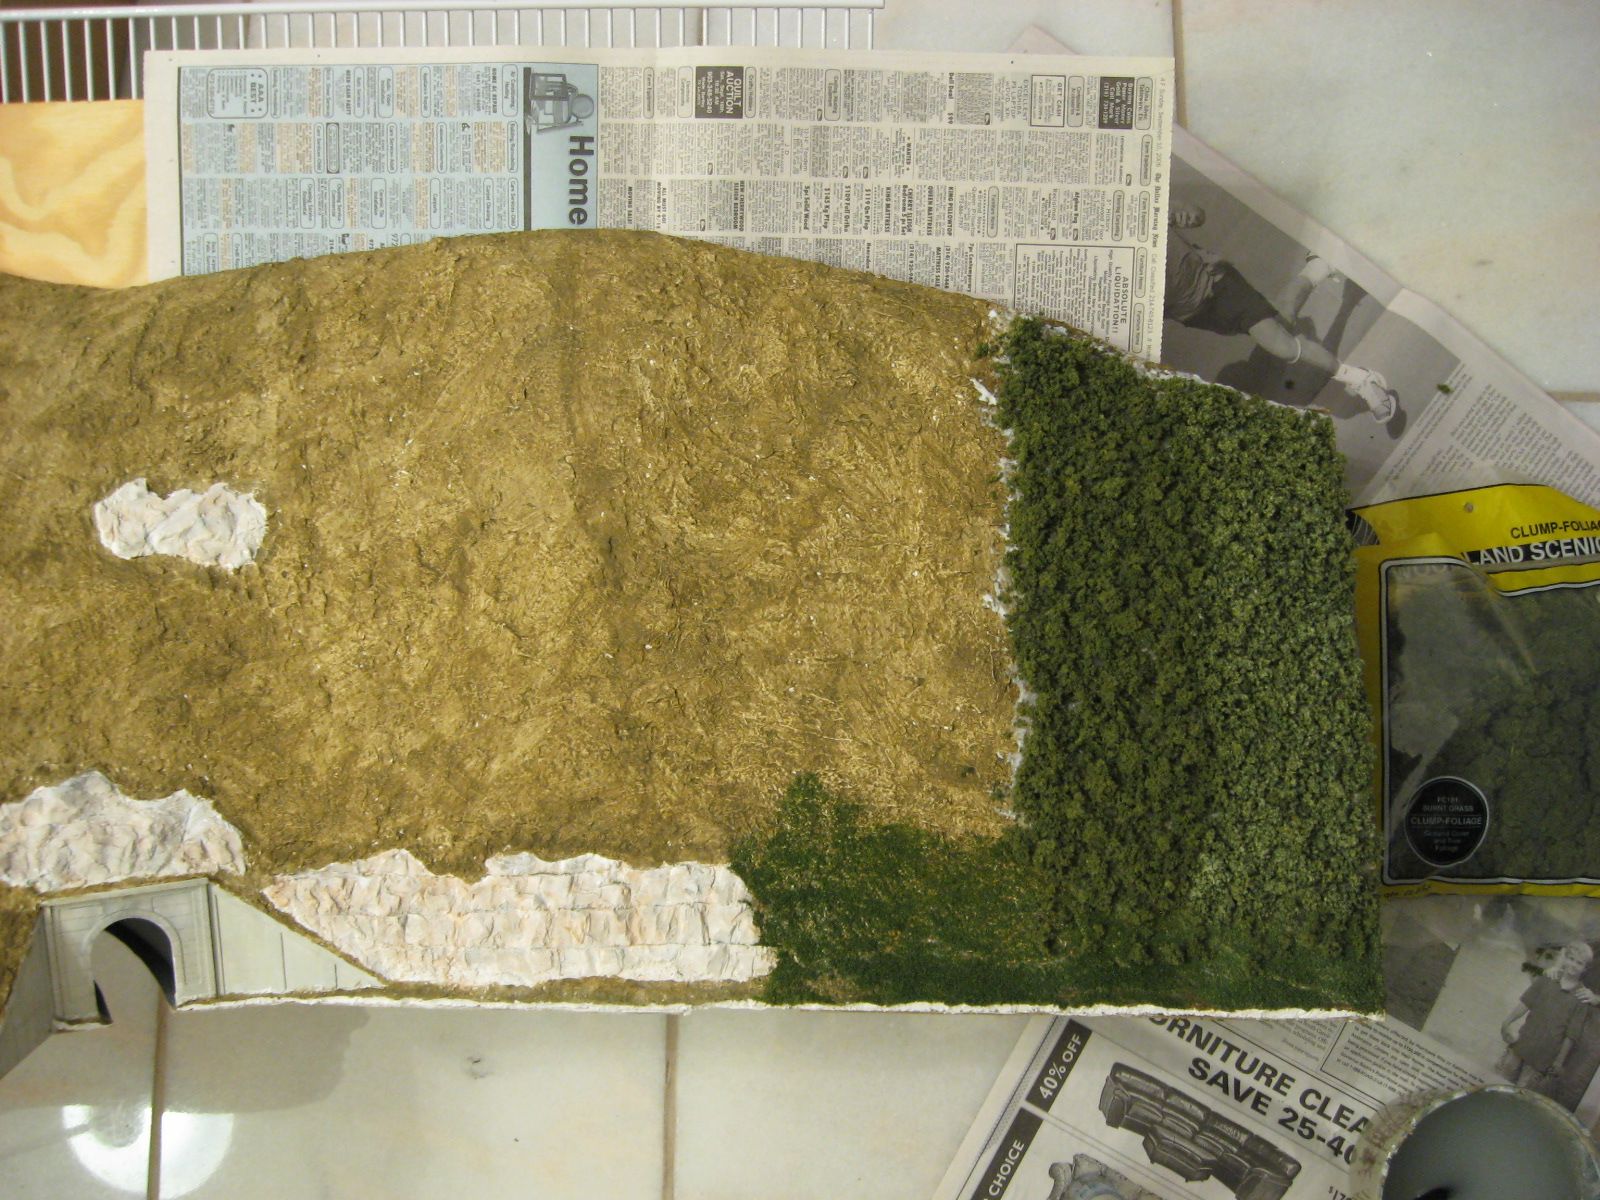
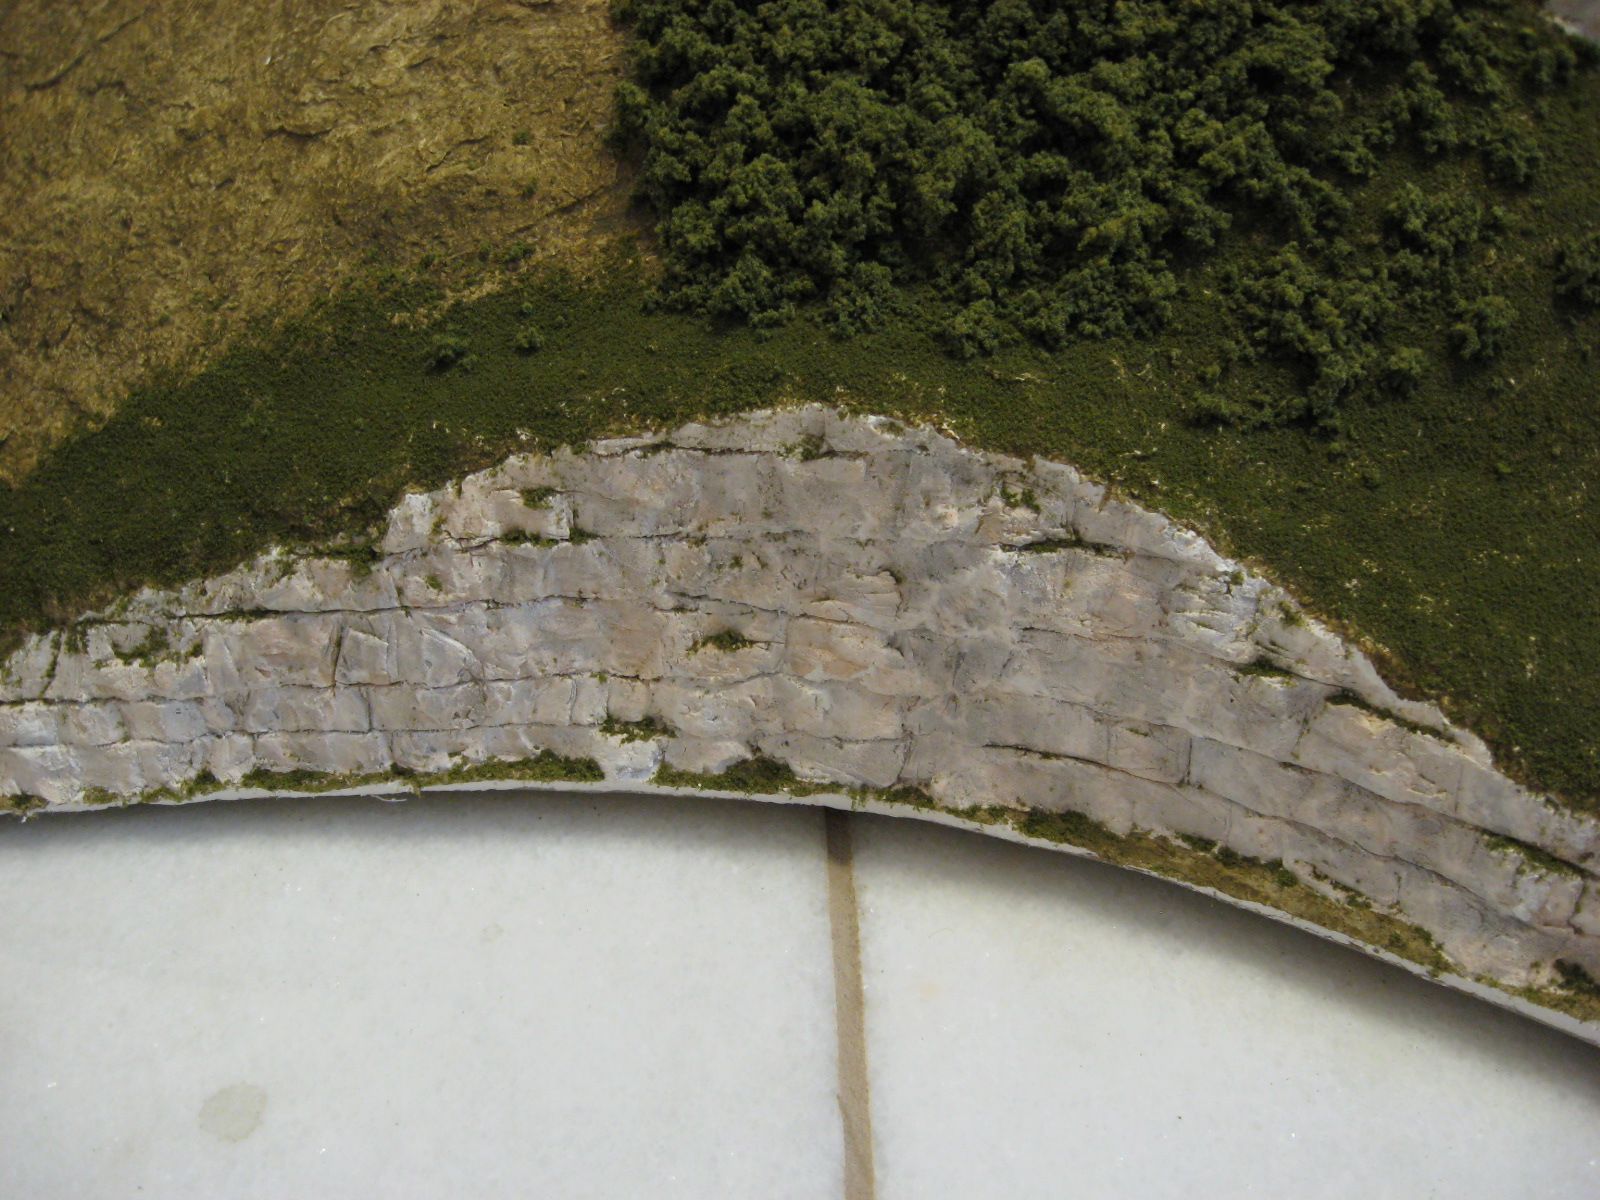
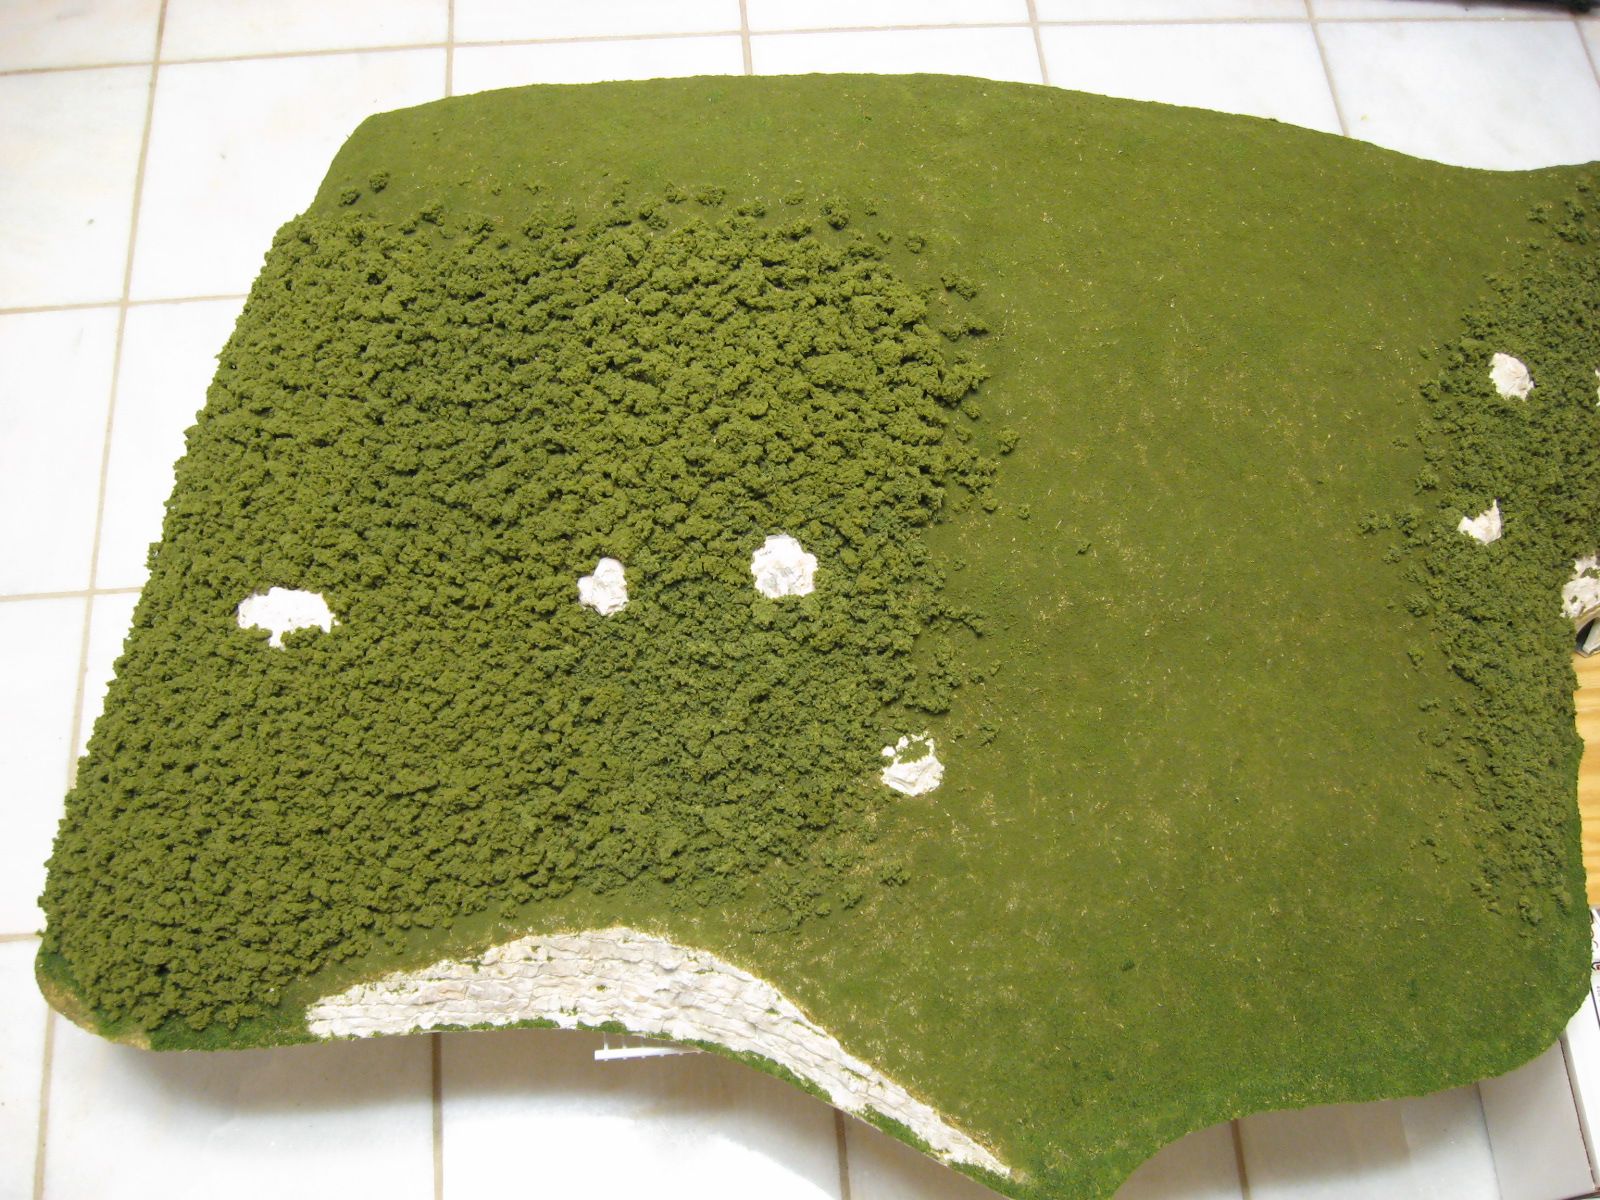
I first applied a layer of white glue along the lower portion of the ridge. I applied a couple colors of Woodland Scenics fine ground foam to the right of the exposed rocks. I sprayed this area with a mixture of one fourth glue and three fourths water to secure it.
I applied a layer of white glue from the top of the already applied covering to the top of the ridge. I placed clump foliage on top of the glued area. I added some clumps to the area sceniced with the fine ground foam to blend it in. I sprayed the clump foliage with the watered down glue mixture.
I continued adding clump foliage in narrow bands along the ridge. I adjusted the angle of the ridge to match the area I was working on as I went.
Using the same process, I added fine ground foam to a large area on the ridge. I plan to add trees to this area in the future.
I continued applying the fine ground foam to the top of the ridge and to the left. I then continued adding clump foliage to the ridge until I ran out. I discovered the color I was using was not readily available at local stores. I had to mail order some more which resulted in a longer than expected delay.
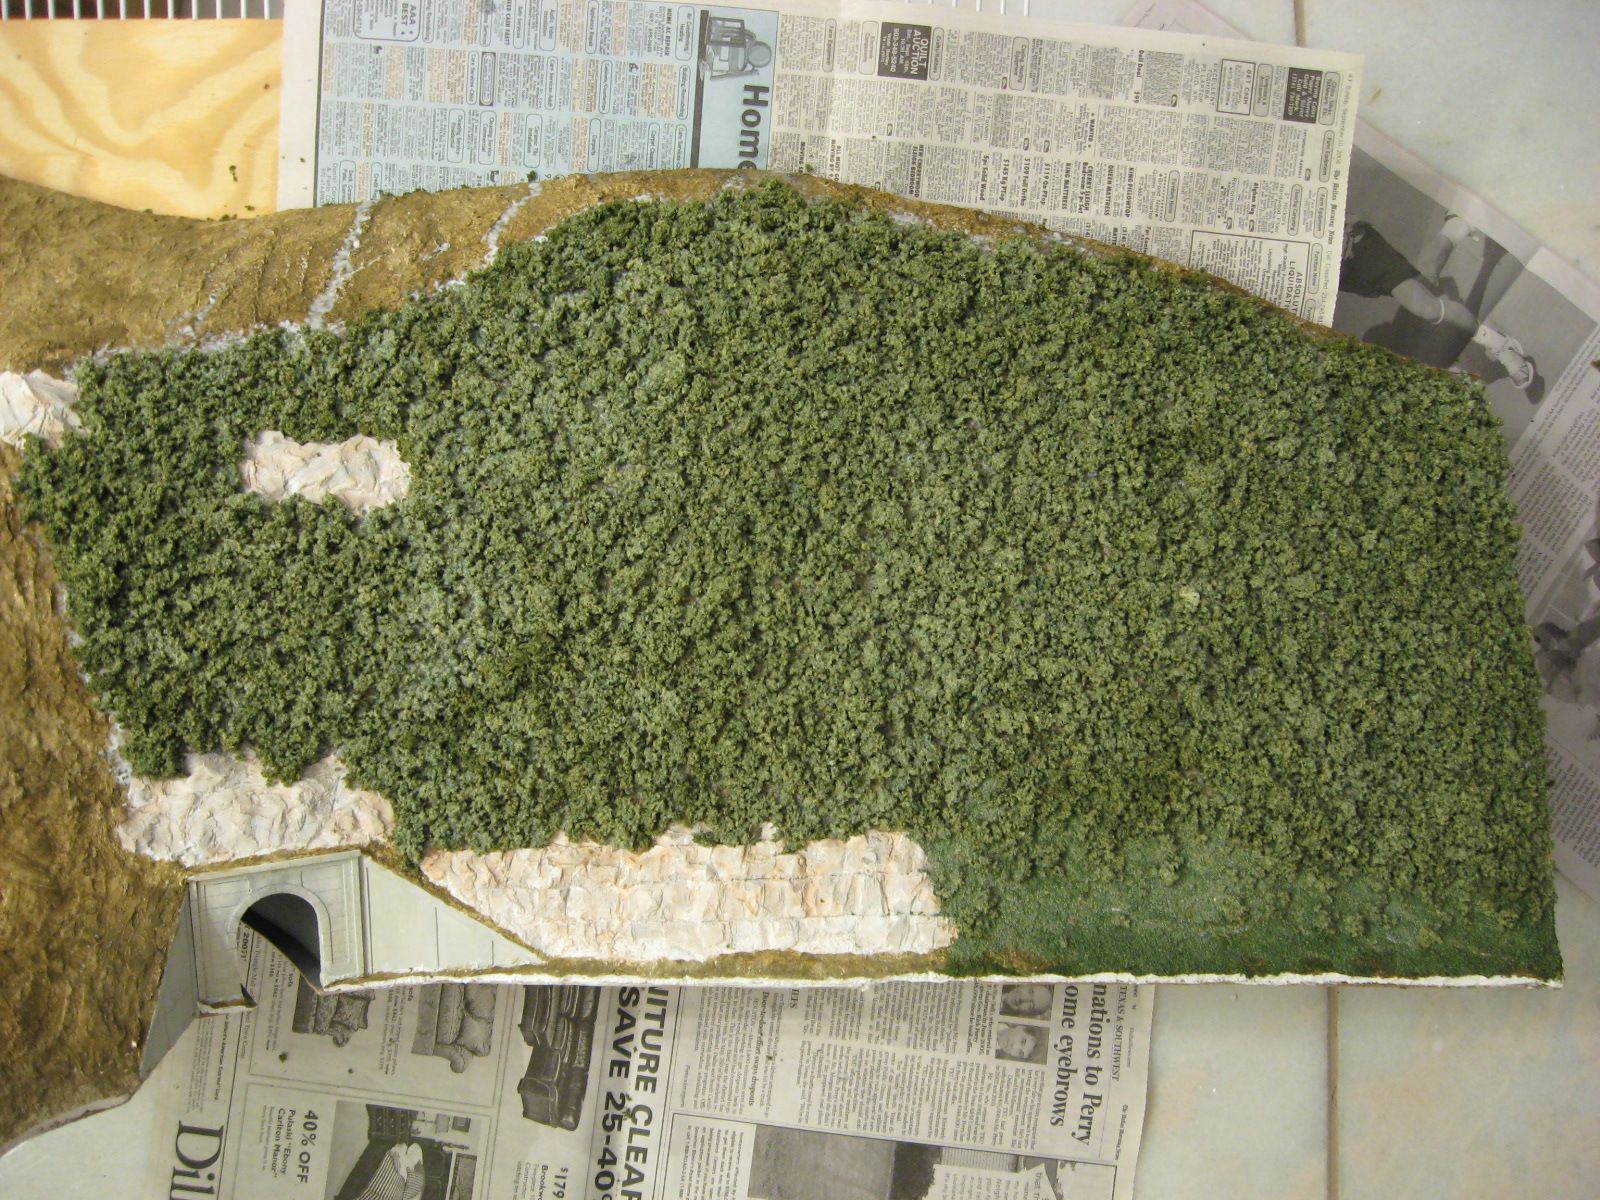
While waiting for more clump foliage, I worked on a few other areas. I added some fine ground foam to the tops of the exposed rocks. I used an eyedropper to first apply alcohol to wet the ground foam. I then applied the glue water mixture with a dropper to the same area. The alcohol helps the foam absorb the glue mixture without disturbing its position. The sprayer I was using would have blown the ground foam away.
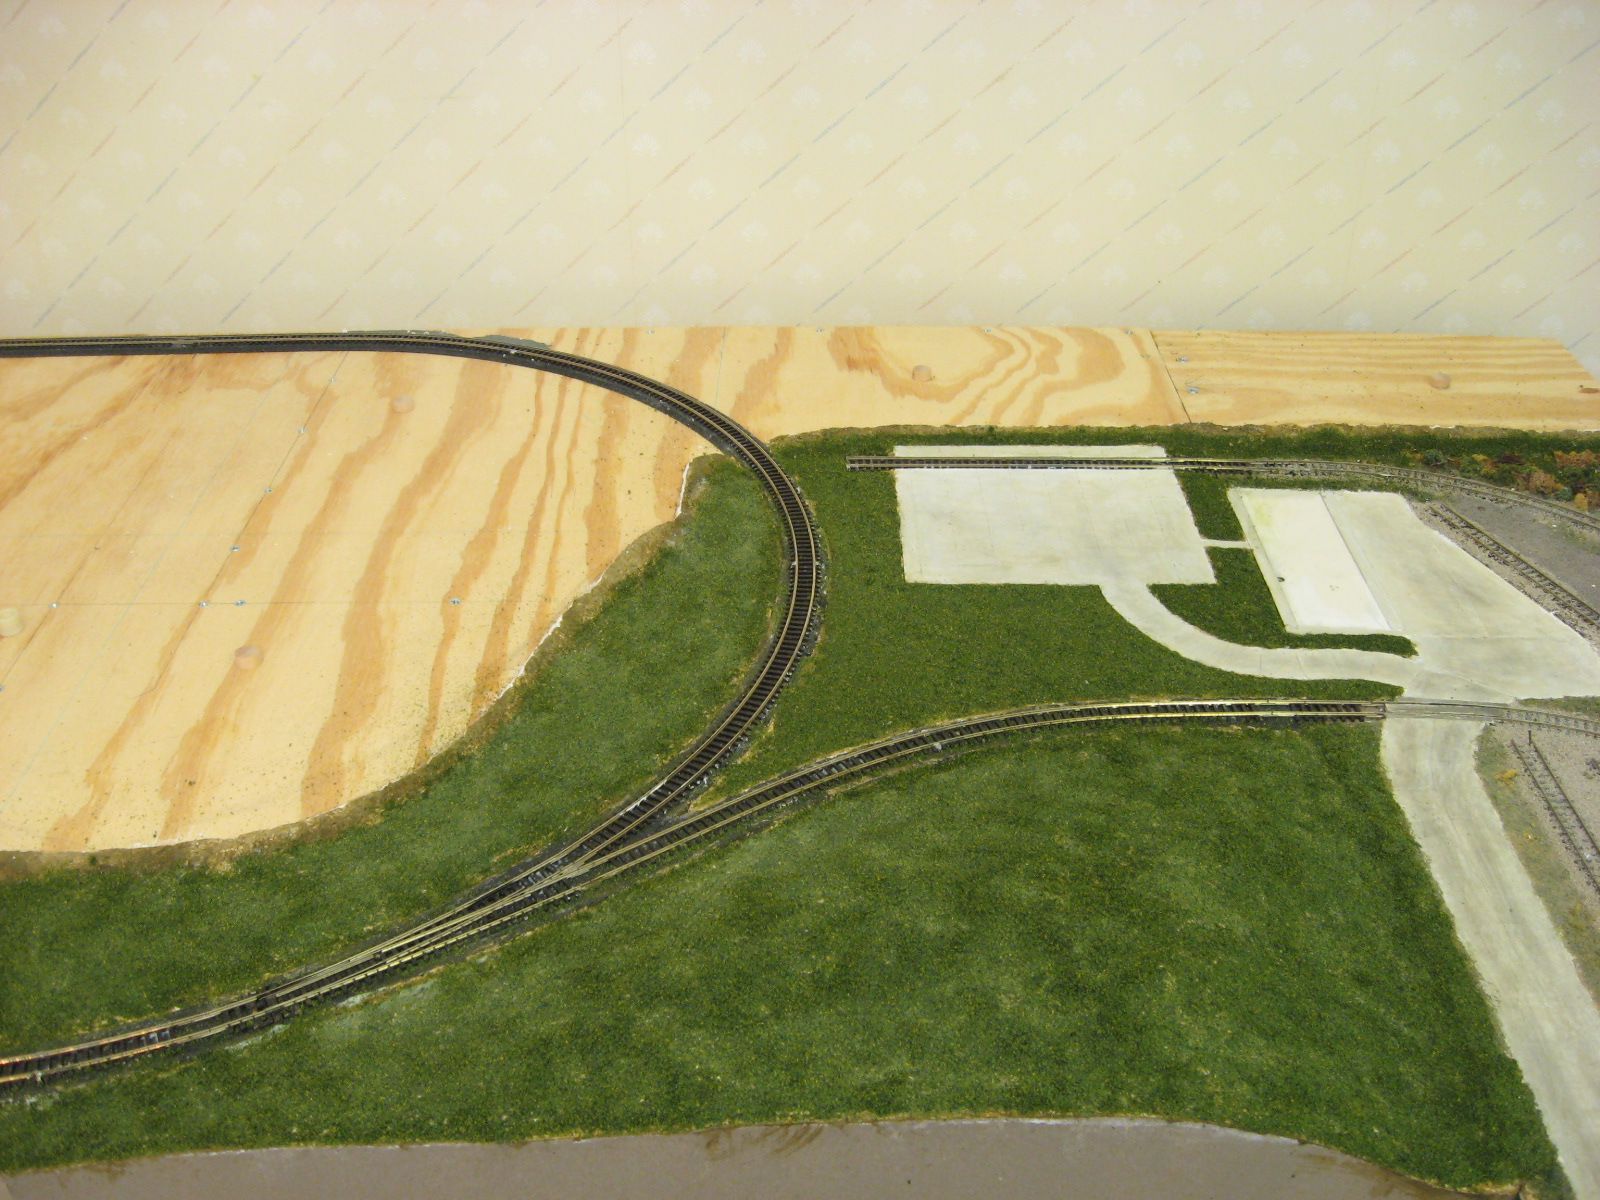
I added fine ground foam to the rest of the area around the ridge. When I got close to concrete surfaces, I had to use the eyedropper method to keep the ground foam off the concrete.
I took this opportunity to rehab the scenery on the original yard module. I applied the same fine ground foam over the existing scenery. This will help blend the old module with the new one.
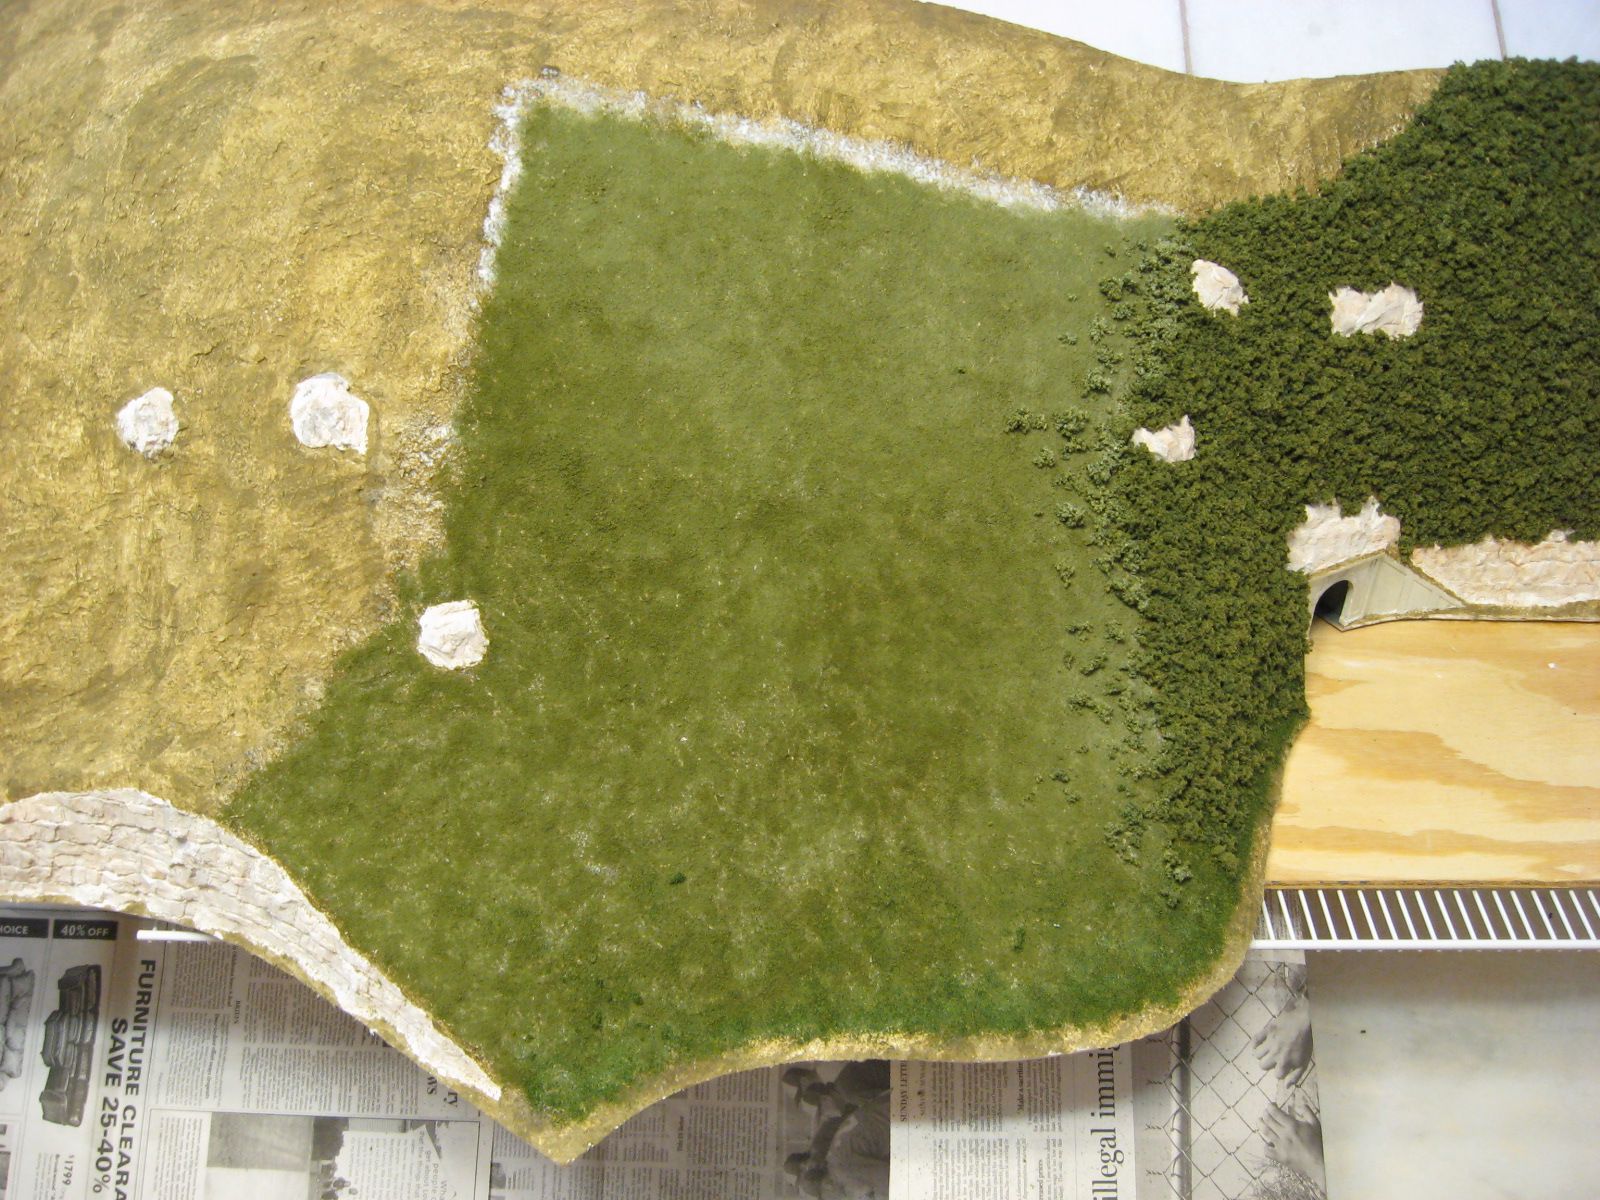
I added ground cover to the mini ridge�s surface and rocks.
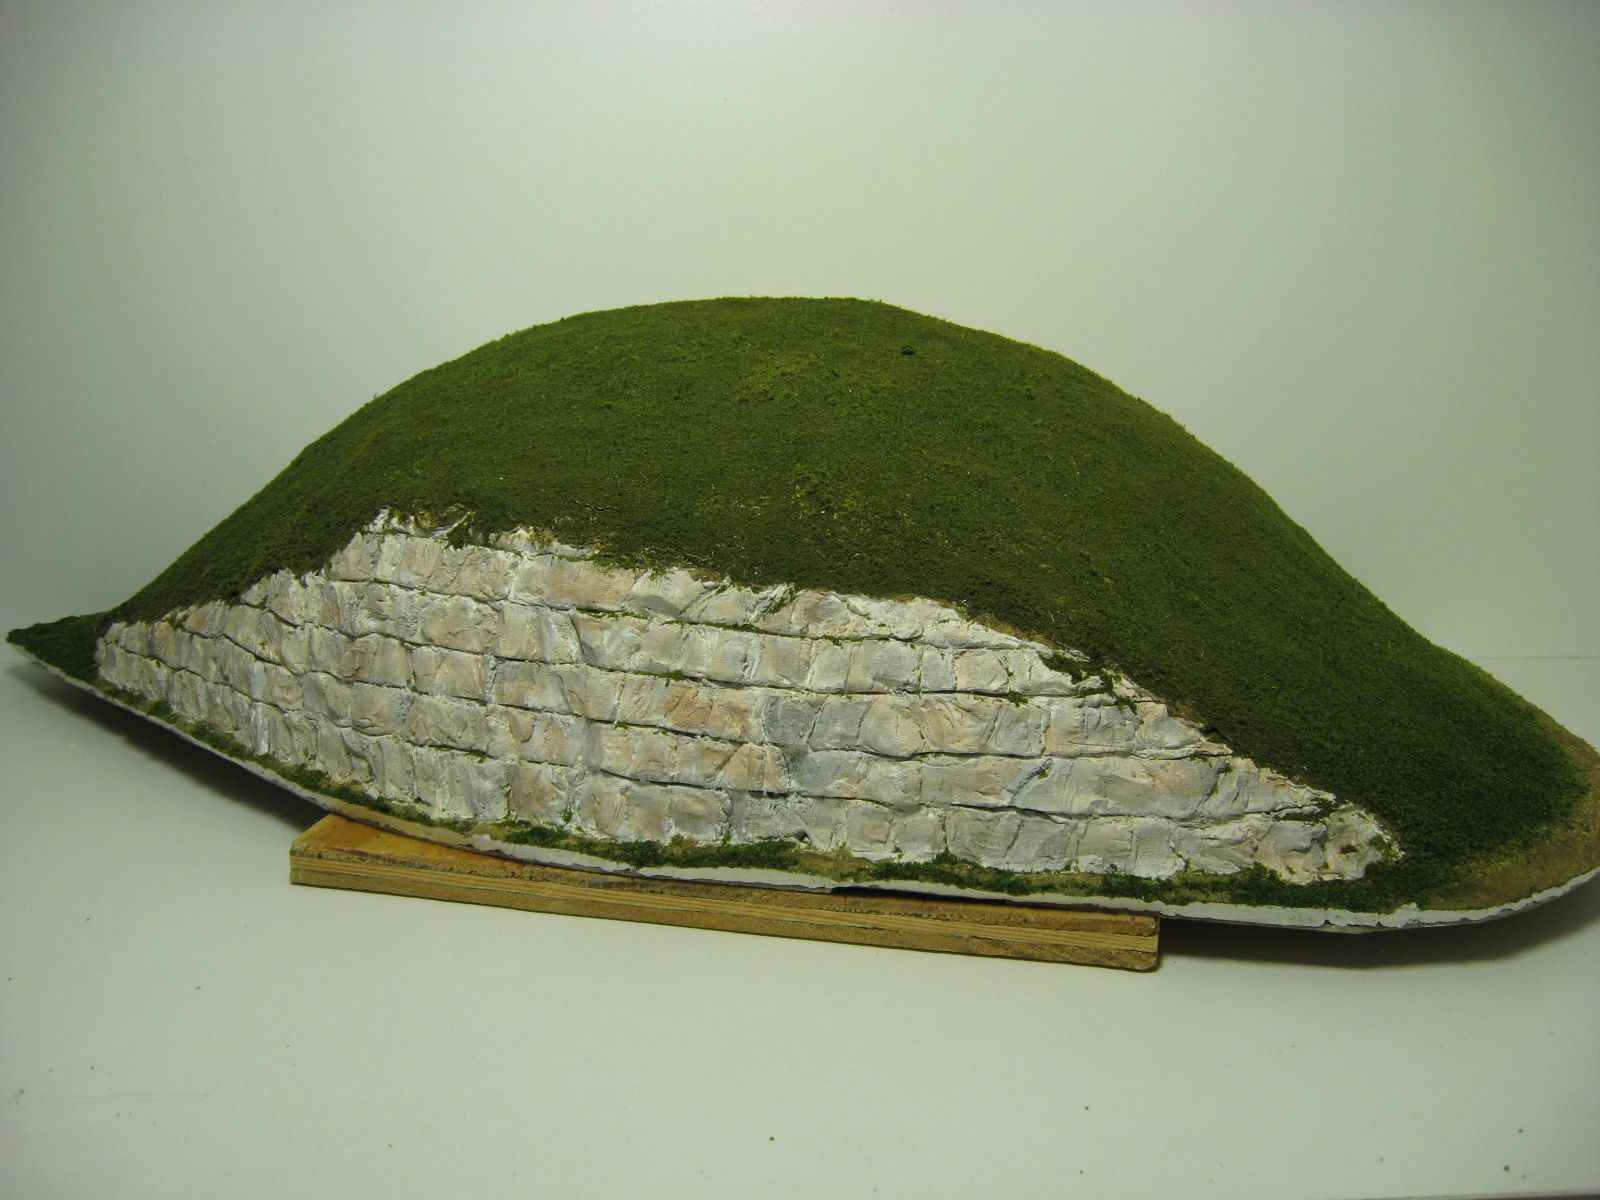
After receiving my mail order clump foliage, I was able to finish the mountain ridge. I did run into one problem the clump foliage. The white glue I used dried leaving shiny surface that could be scene between gaps of the clump foliage. I sprayed the entire clump foliage area with Woodland Scenics Scenic Cement, which dries with a matte finish, to help subdue it. I may try a different approach when I build the ridge on the opposite of the layout.
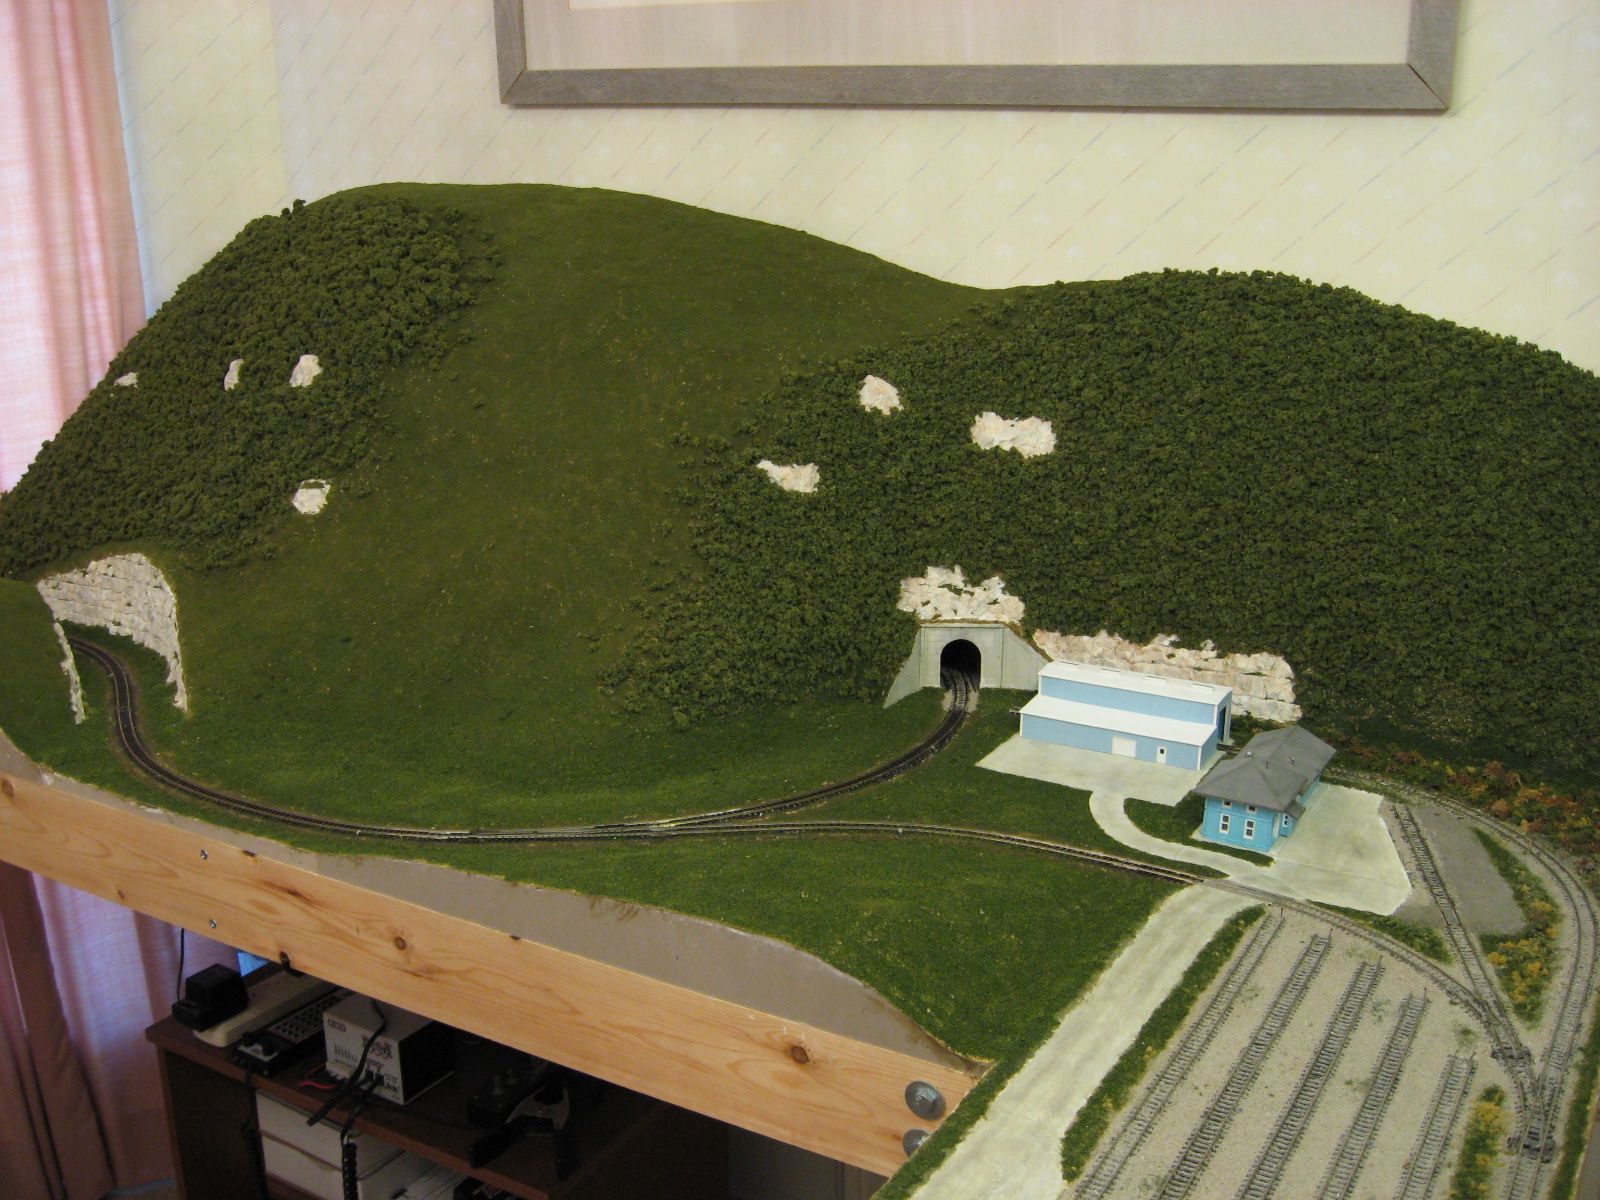
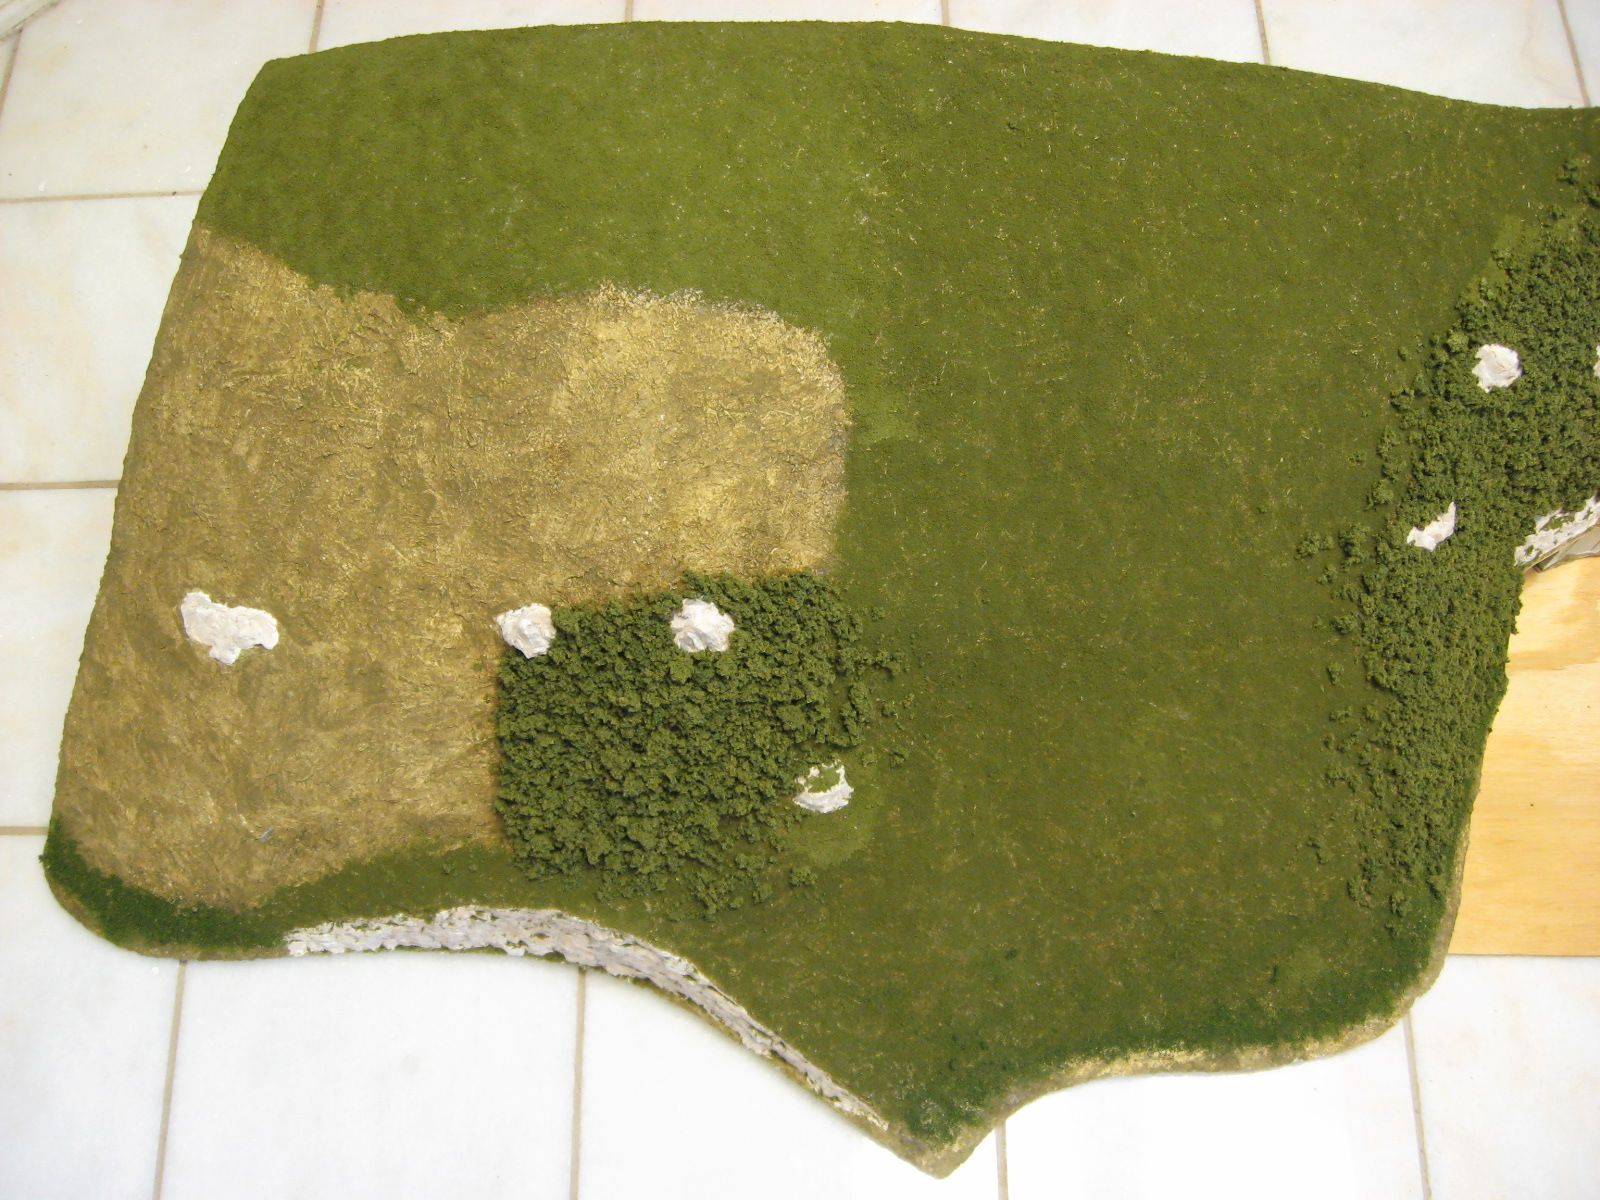
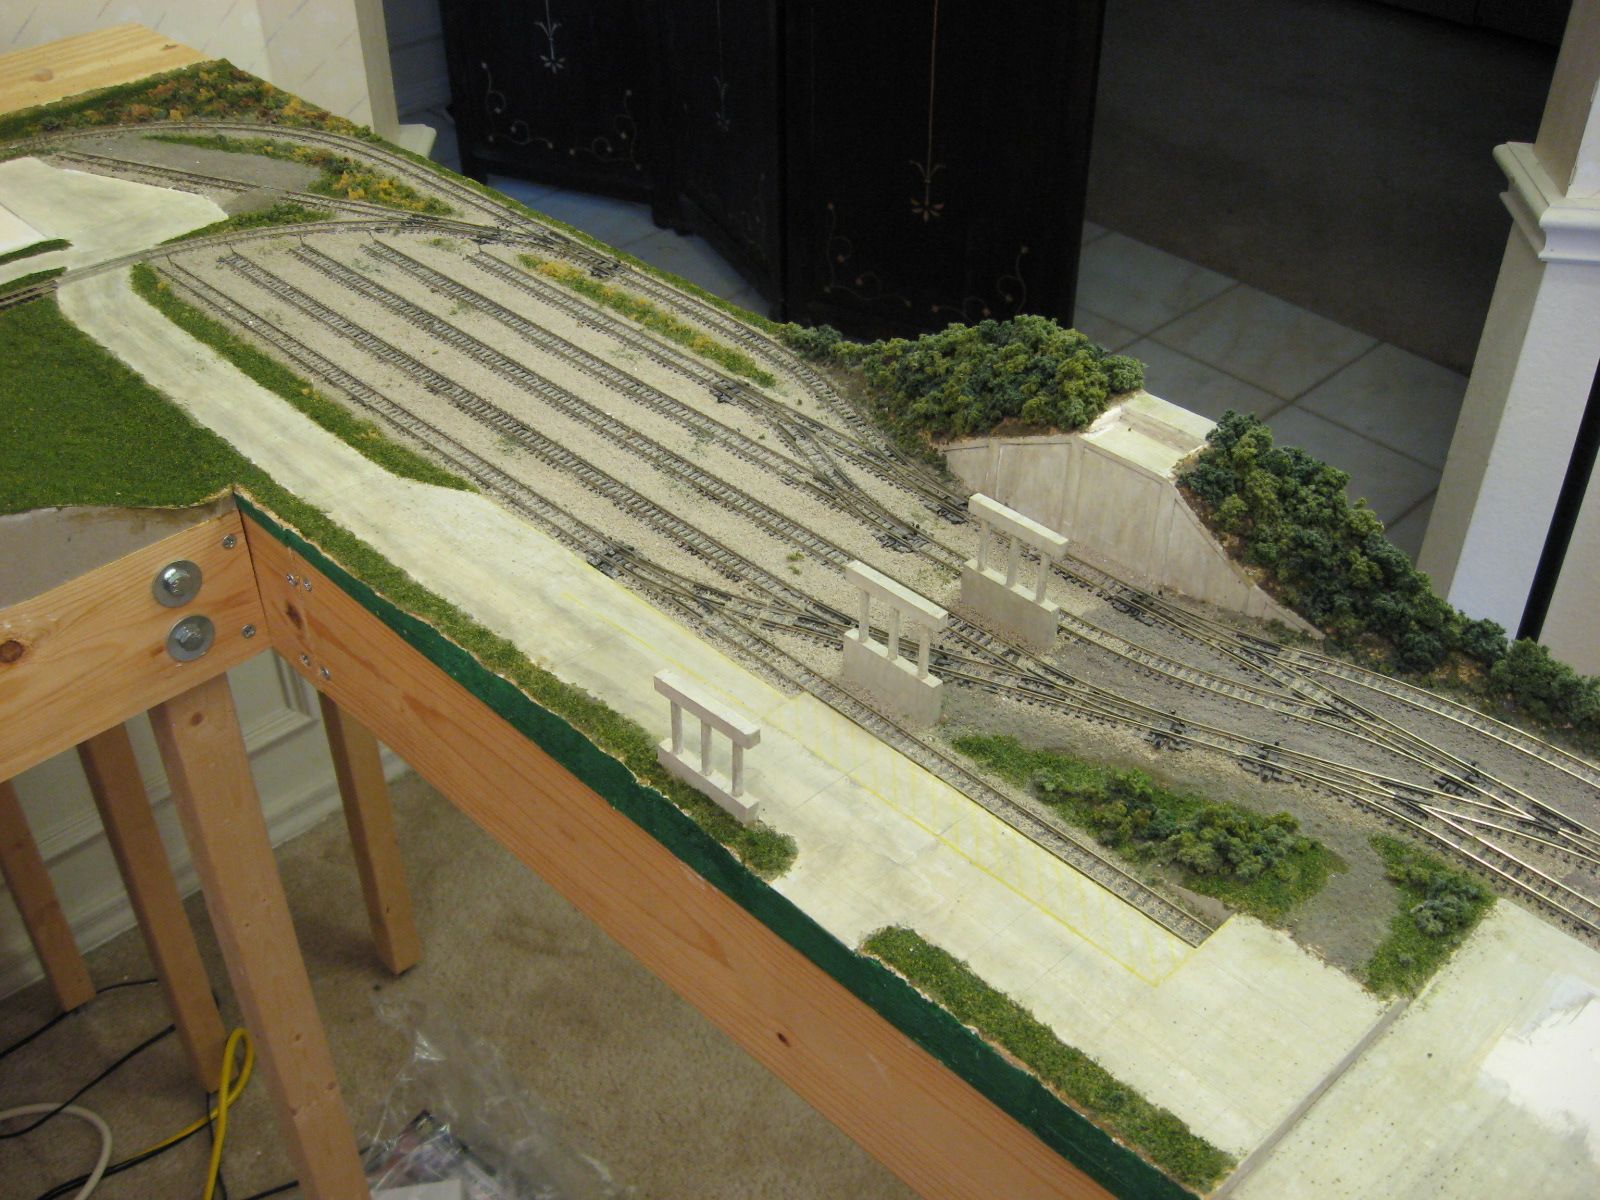
Before I placed the mountain ridge back on the layout, I added some ballast to the track just in front and just behind the tunnel portal. I also cleaned the hidden track. I do not plan on removing the ridge for a while. After I placed the ridges back on the module, I applied ground foam along the areas where they merge into rest of the module.
I still need to ballast the rest of the track on this module. I also need to construct many trees.