07-30-06 Up and Running
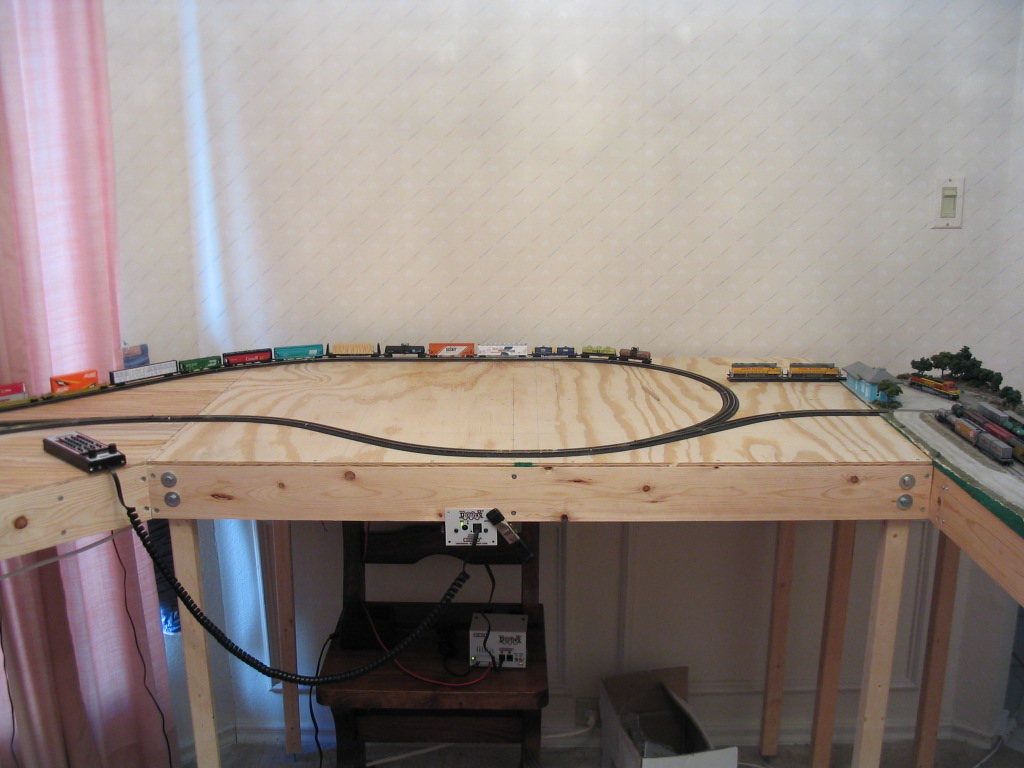
After years of planning and many months of construction, the layout is up and running.
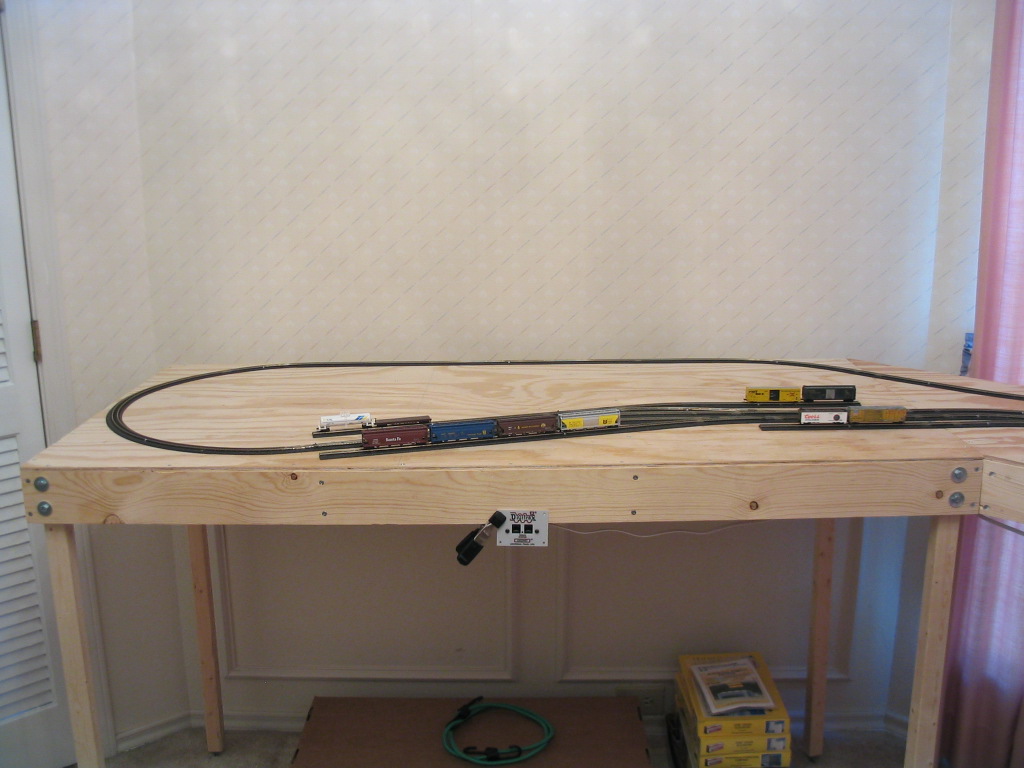
Through out the construction process it was easier to work on the modules on top of sawhorses. Now I needed legs. I had cut the legs to length back when I was putting the frames together. I also had installed the height adjustment bolt on the bottoms of each leg. All this was a hole drilled through the end of the leg with a t-nut and bolt attached. To attach the legs, I placed each of the straight modules on the sawhorses. I clamped four legs in place. I drilled two holes per leg through the module frame and leg. I attached t-nuts to the legs. I attached the legs to the frame with bolts and washers.
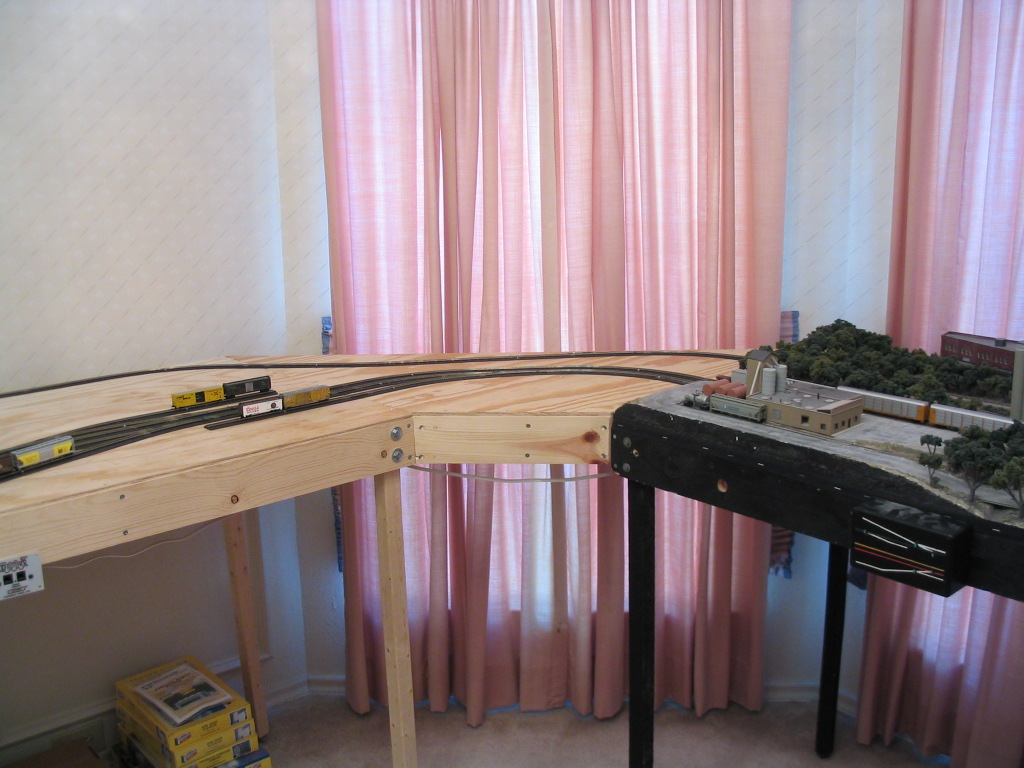
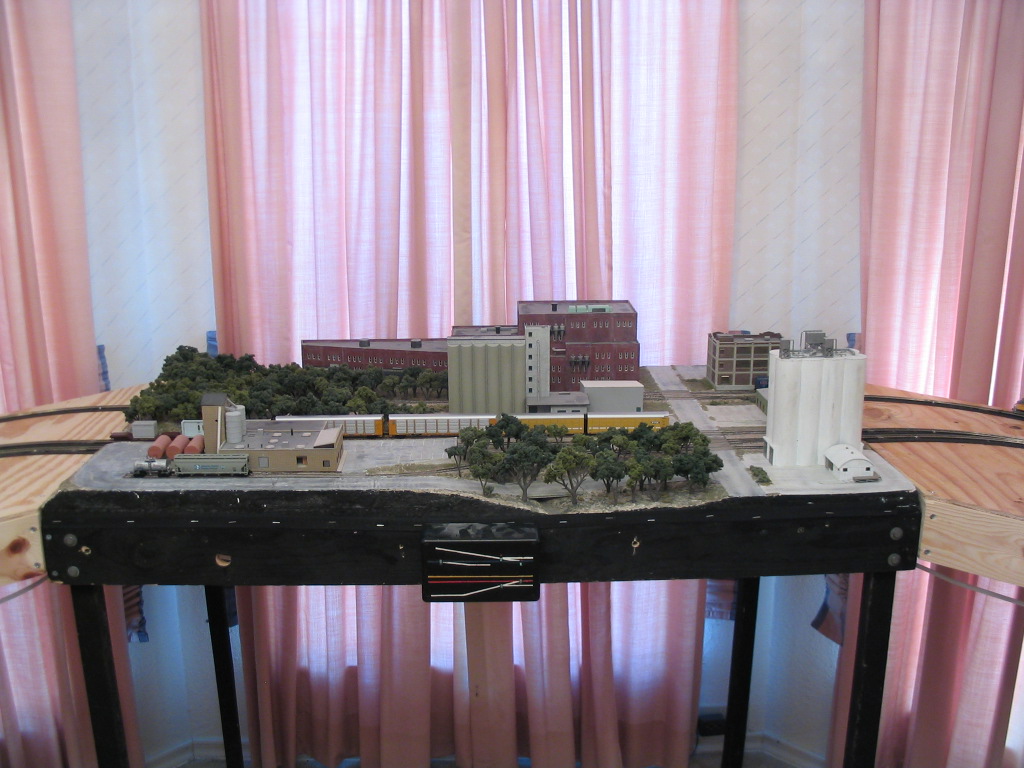
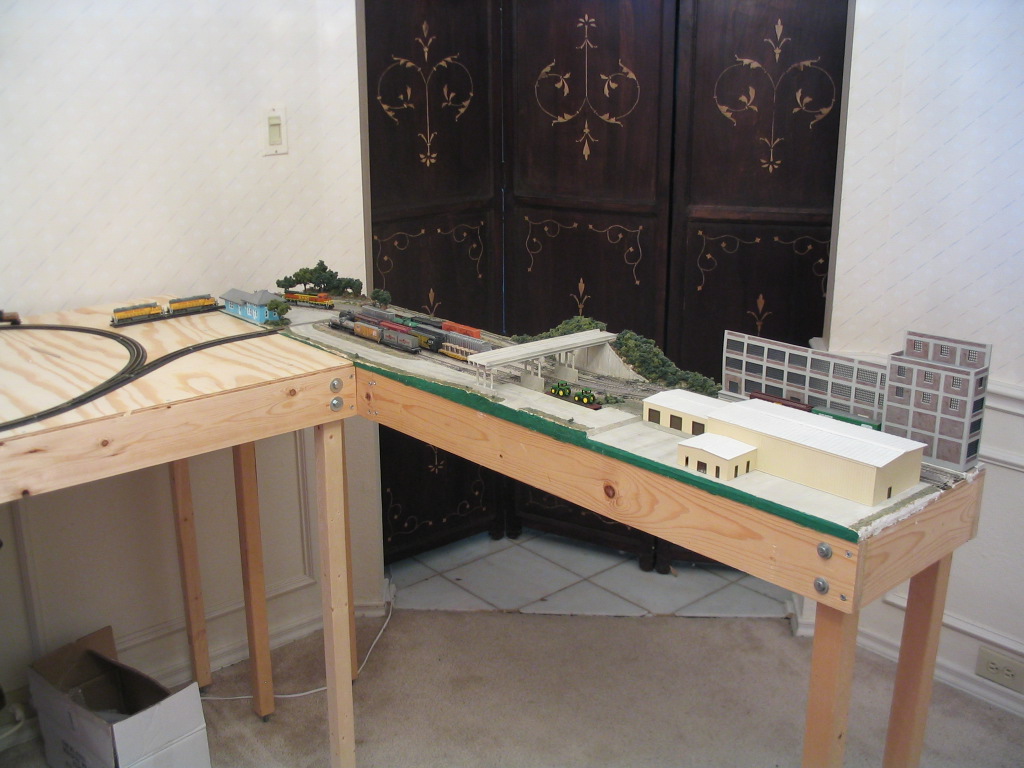
After I attached the legs to each of the two straight modules I moved them out of the room. I cleared the rest of the room and vacuumed. I then attached the legs to the original NTRAK module and lined it up in the room and leveled it. I temporarily attached two yard legs to a corner module using clamps. I lined the corner module up with the NTRAK module and clamped them together. I them made sure it was level. I then moved one of the new straight modules in place. I lined it up with the corner module, leveled it, and clamped them together. I removed the legs from the corner module them repeated the same steps with the corner and straight modules on the other side. I placed the yard in place last.
Next, I had to test the electrical system. I connected the connectors between modules. I attached a nine volt battery to each circuit consecutively. I check the polarity of each section of track to make sure when I attached joining tracks there would not be any short circuits. All of the tracks were wired properly.
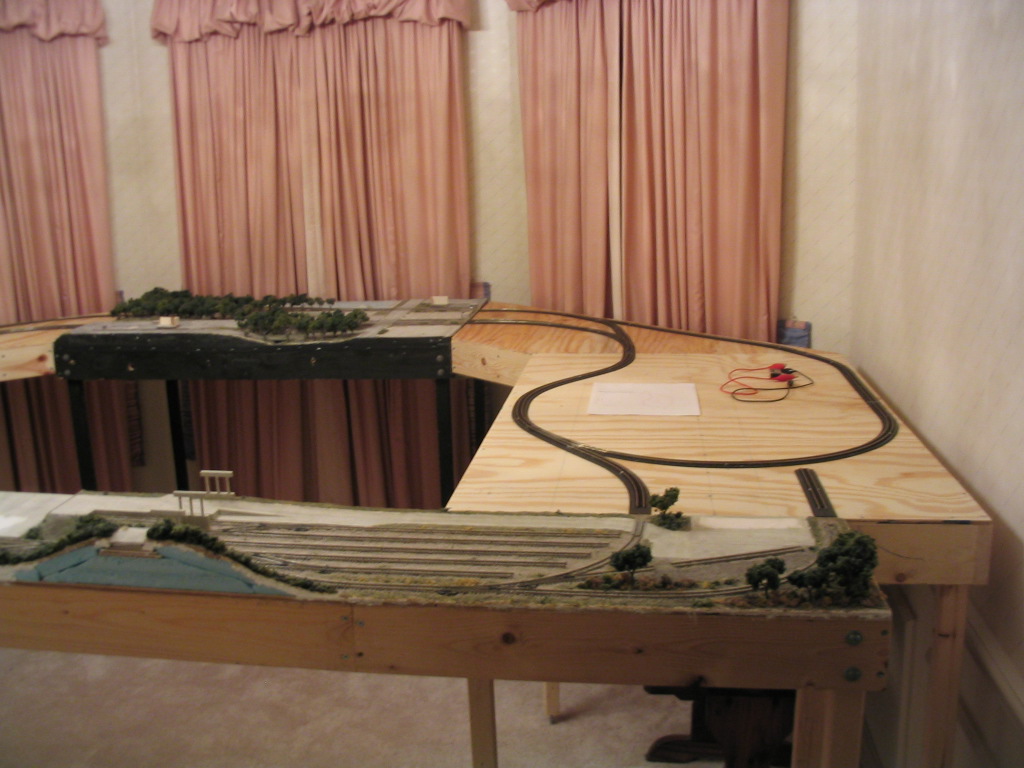
Now I was able to work on the joining tracks. These are small sections of track that will span the joins between modules. There were fourteen places where I needed to install them. I cut each piece to fit from left over flex track. Metal rail joiners were used to hold each piece in place. There is one piece that has insulated rail joiners on one end instead. This is one of the locations where the two main line circuits meet. With the joining tracks in place, I cleaned the rail surfaces with an abrasive track cleaner.
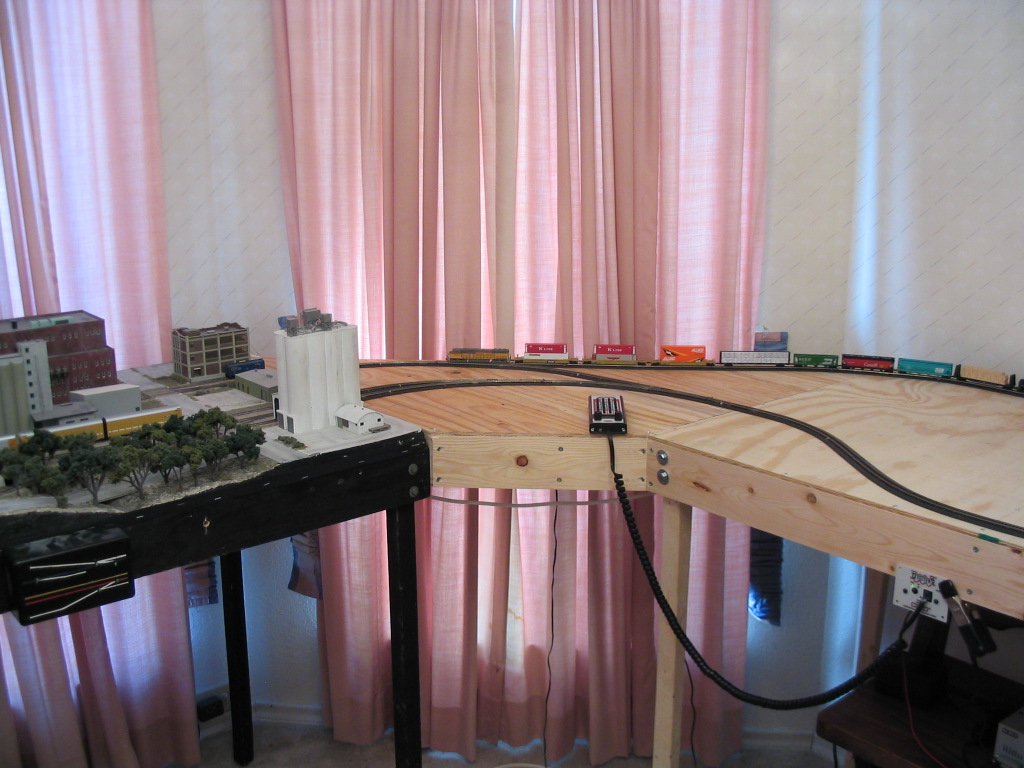
I checked each circuit for short circuits. Now it was time to attach the Digitrax controller. The Digitrax circuit board I talked about previously in the electrical section is back ordered, so I connected the yard, and two main line circuits straight to the controller temporarily. I will not be able to use the reversing track until the board is delivered. I turned on the controller, placed a locomotive on the track, and successfully ran it all the way around the loop. I tested each siding. I also ran a full train around several times. Now I need to test the track for a while. I have had to fix a couple problems with track alignment already.